Learn It in Five Minutes
Everything the app does, in the order you'll use it. Each section has the screen it describes.
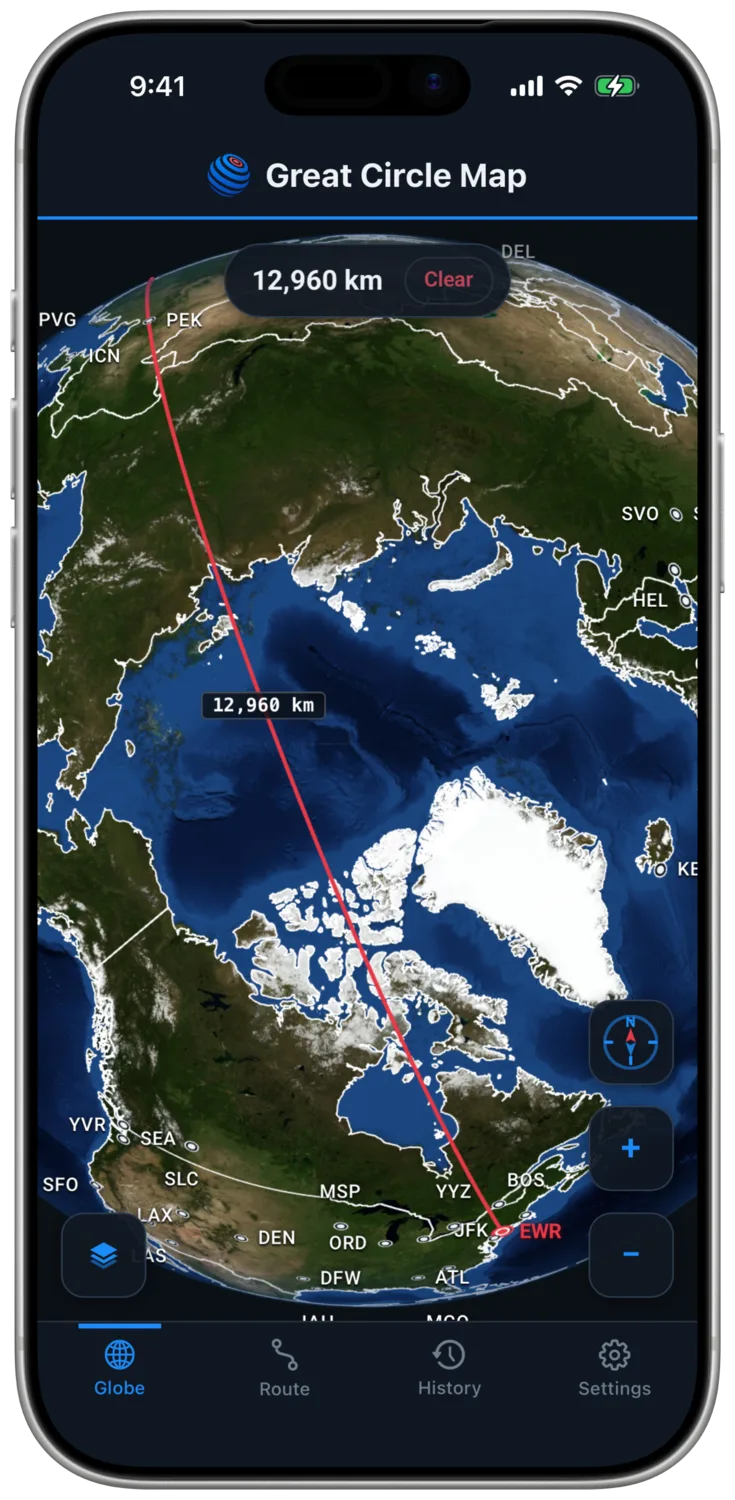
Rotate Anywhere
The globe has no fixed axis, so a drag goes wherever you point it, including straight over the poles. That is the whole reason this app exists.
- Drag in any direction to rotate. Nothing stops you at the top of the world.
- Drag along the globe's outer edge and the motion becomes a roll around the axis facing you, so you can turn the world like a dial and put any direction up.
- Scroll or pinch to zoom toward your finger or cursor.
- Tap the compass for north-up, drag its ring to roll precisely, and double-tap it to reset the view.
Add Airports
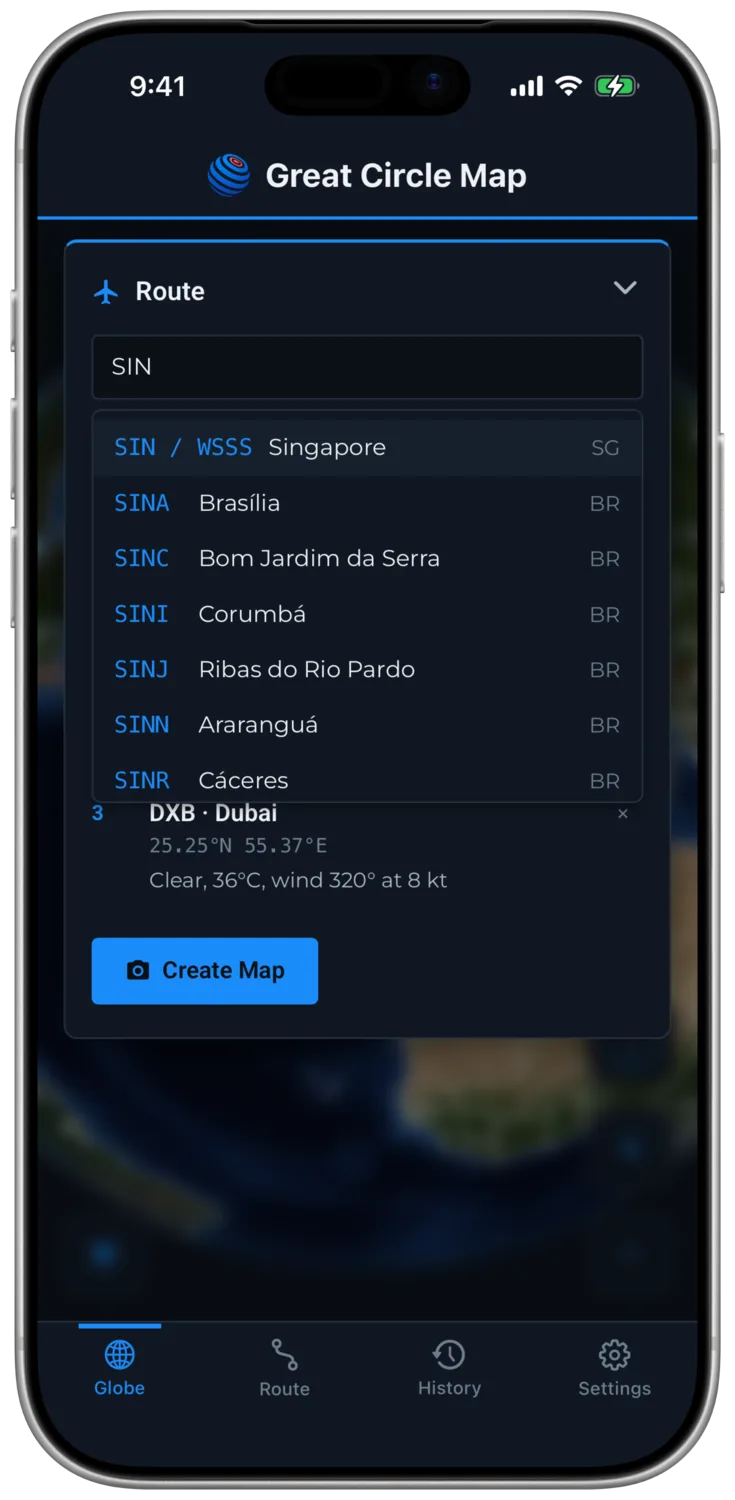
The search covers the full OurAirports database, so every strip with a code is in there.
- Open the route panel and start typing an IATA code, an ICAO code, or a city.
- Pick a result to drop that airport on the route. The globe centers on it.
- Add the next airport and the great circle draws itself.
Read the Weather
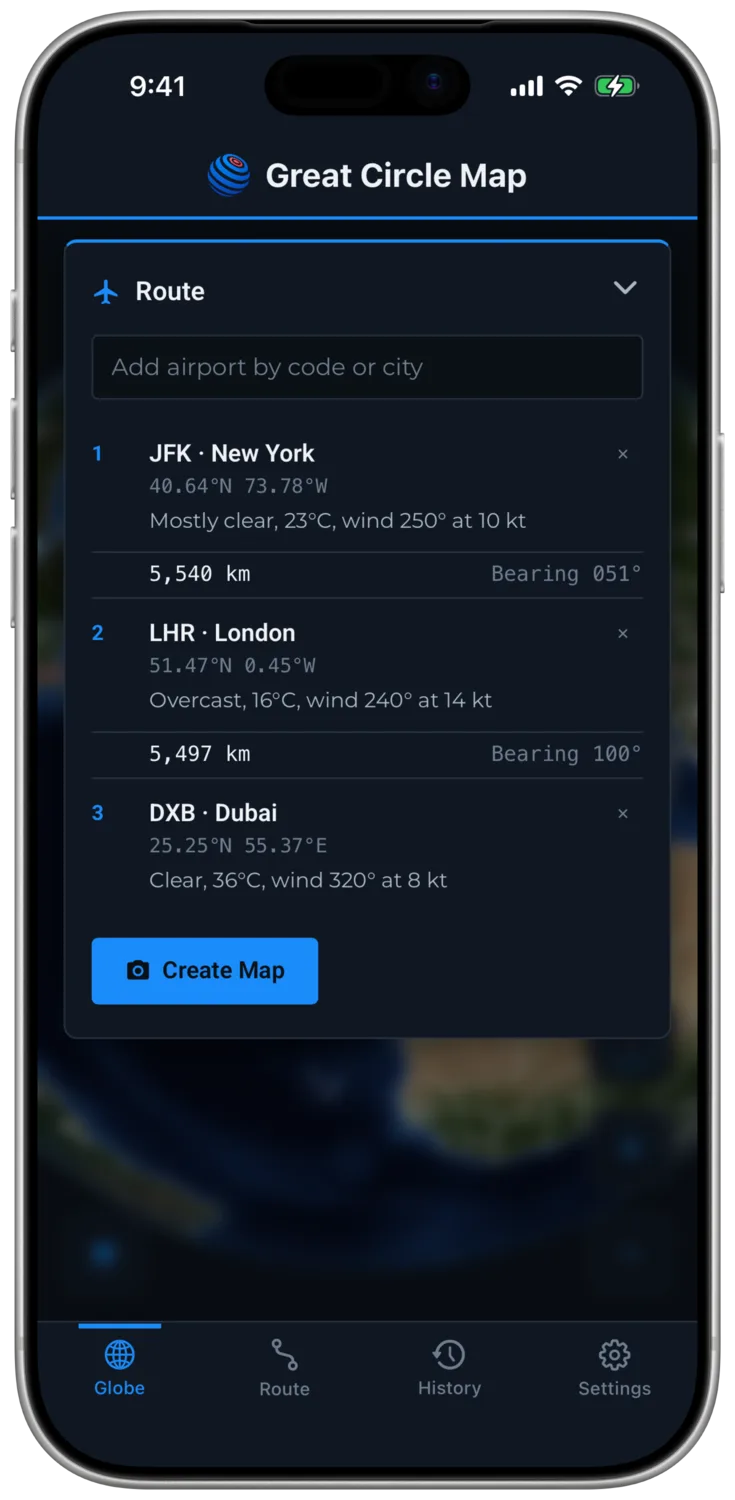
Every waypoint shows its current conditions, temperature, and wind, courtesy of Open-Meteo.
- Add a waypoint and the weather line appears under it in the route panel.
- Wind reads as direction and speed in knots, the way you'd expect.
- Turn the weather lines off in View if you prefer a quieter panel.
Tap to Add Waypoints
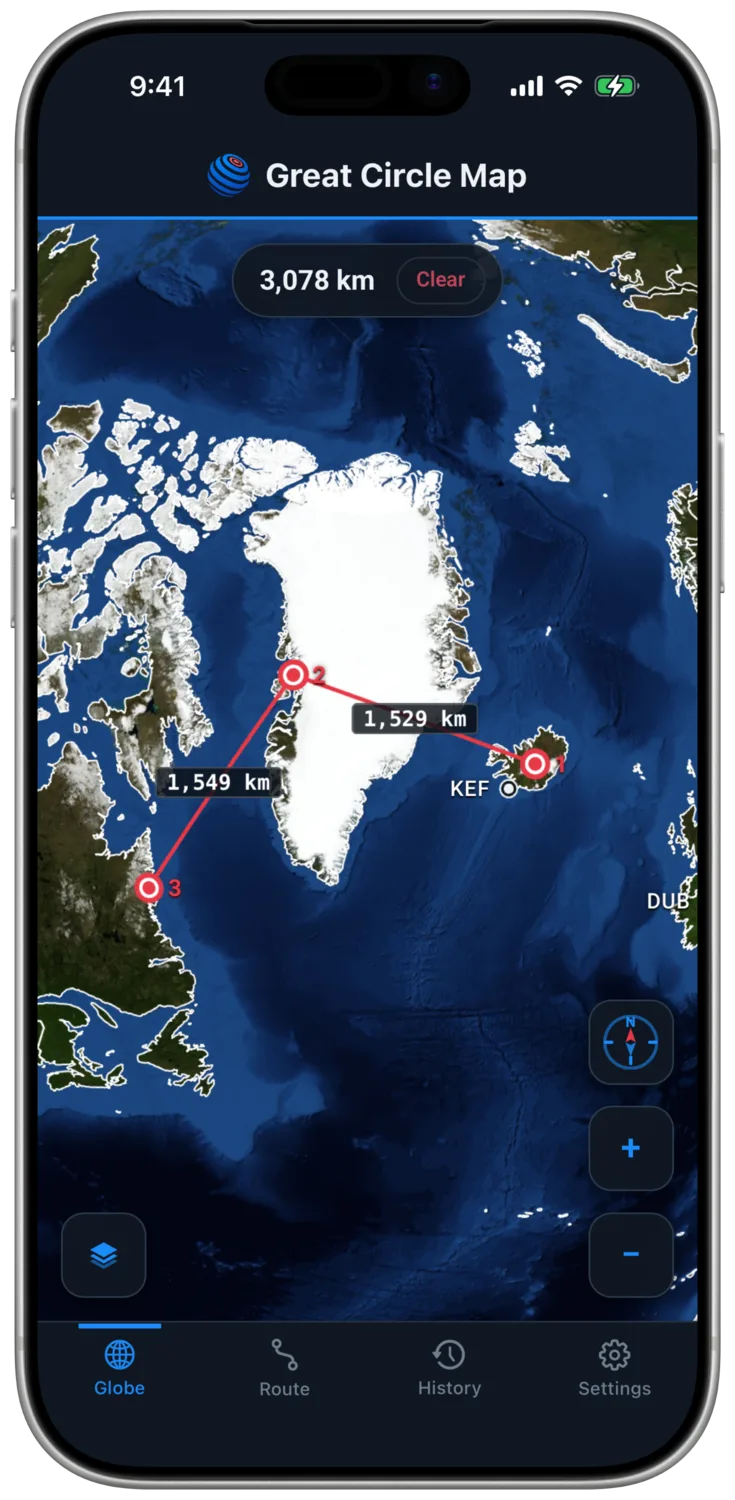
Routes are not limited to airports. Any point on Earth can be a waypoint.
- Double-tap anywhere on the globe to create a waypoint there.
- Double-tap the waypoint again to delete it.
- Keep going. There is no limit on the number of waypoints.
Distances and Units
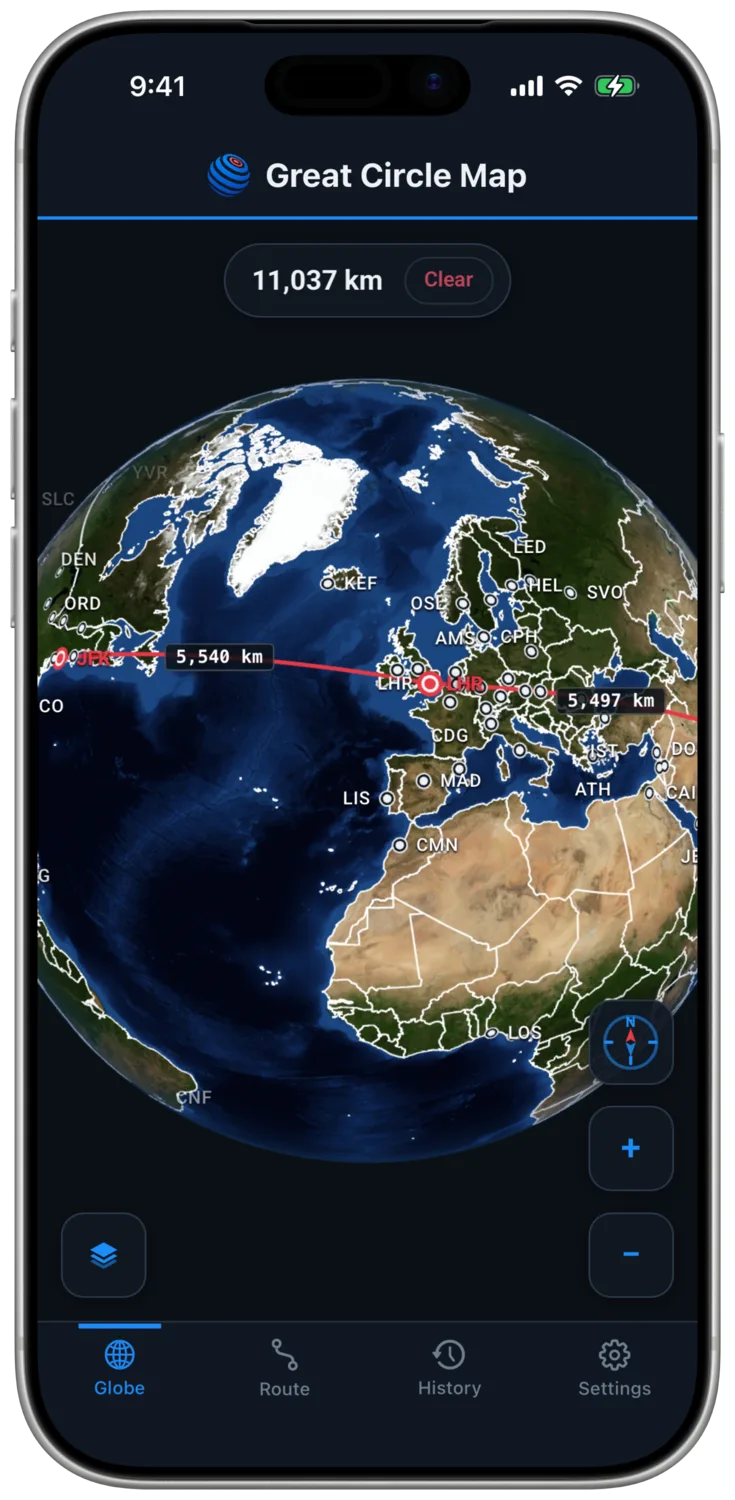
Every leg is measured and labeled, and the total rides at the top of the screen.
- Leg labels slide along each arc to stay readable as you rotate.
- The route panel lists each leg's distance and initial bearing.
- Switch km, nm, and mi from the layers menu. Everything updates at once.
Save and Reload Routes
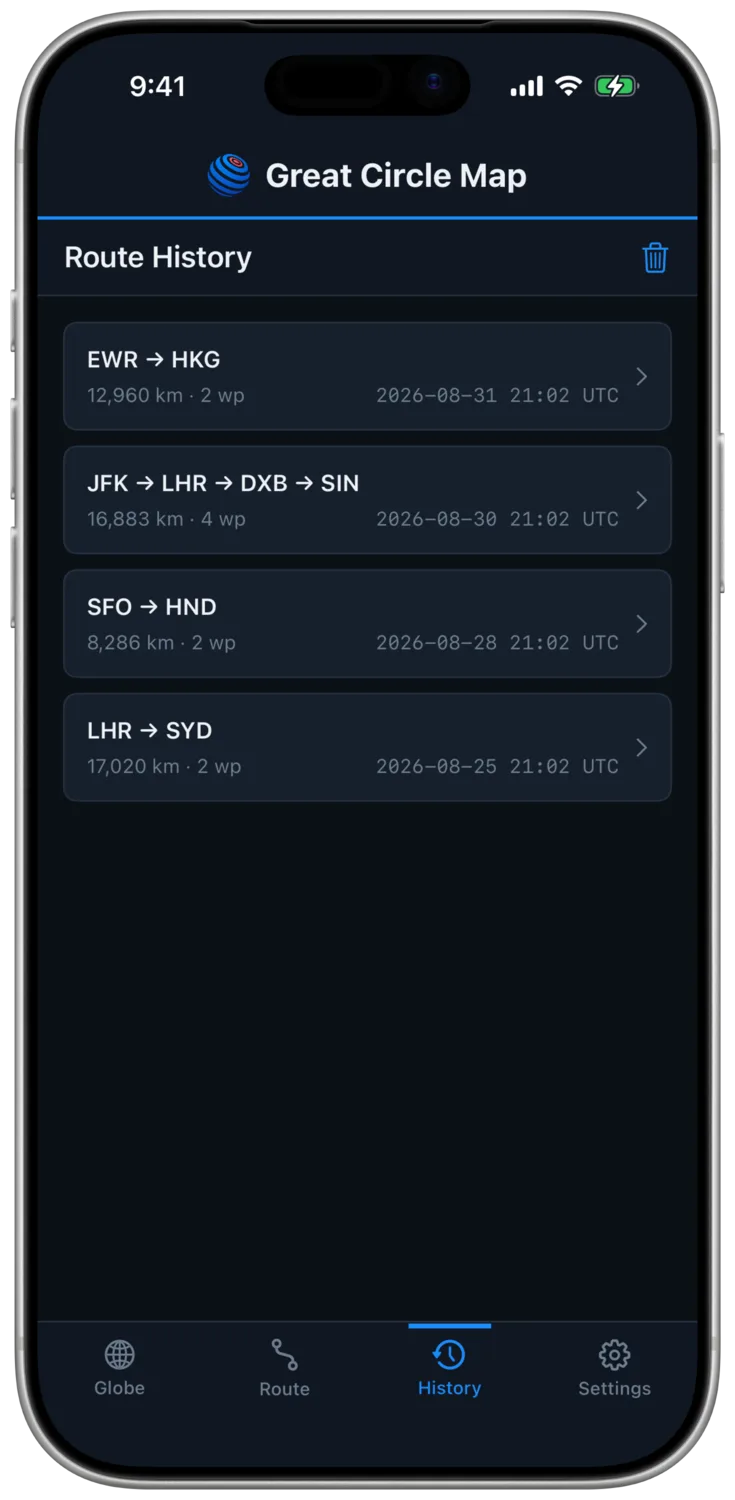
Routes save themselves as you build them, so a long multi-stop route never has to be typed twice.
- Build a route and it lands in History automatically.
- Tap a saved route to put it straight back on the globe.
- Delete entries one at a time, or turn automatic saving off entirely.
Create and Share a Map
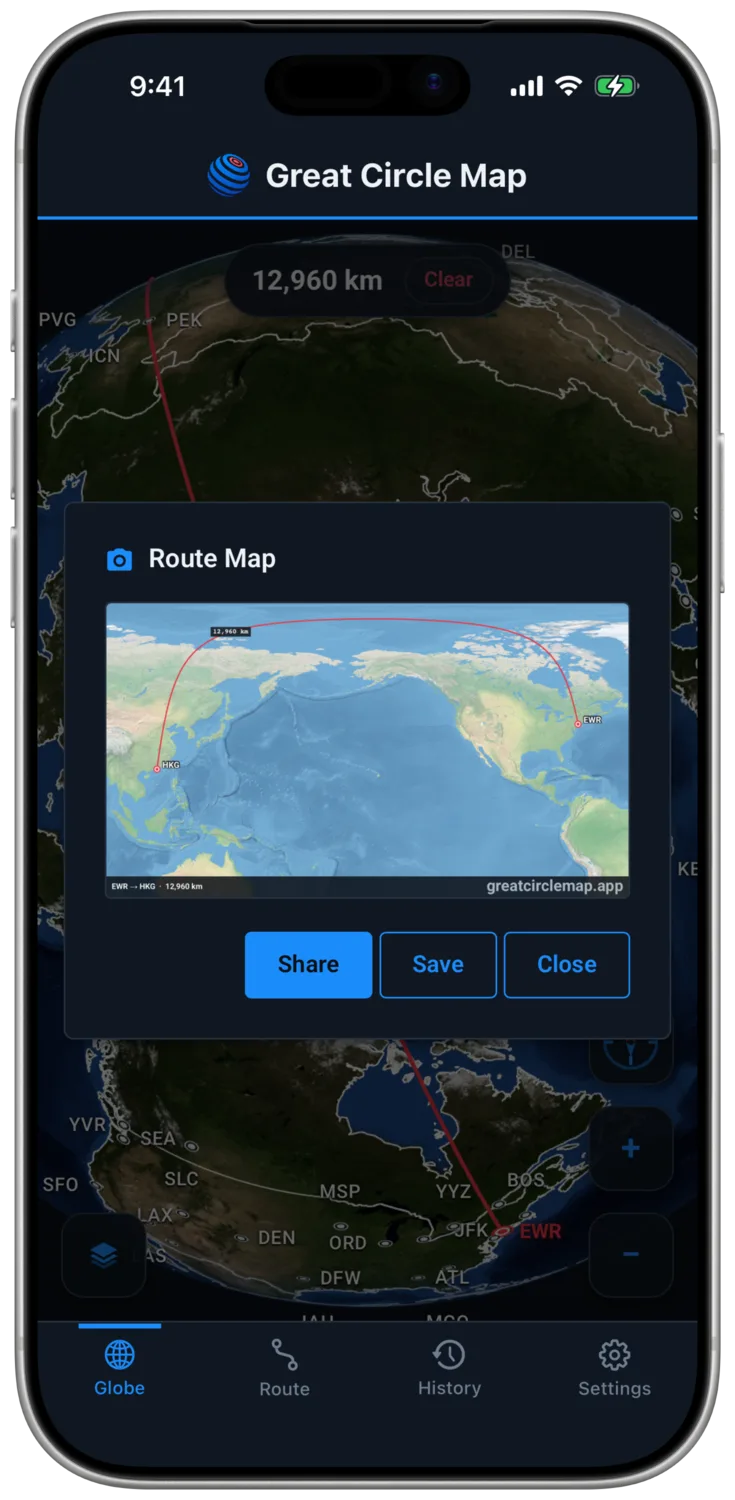
A globe is for exploring, and a flat map is for sharing. Create Map gives you the flat map.
- Tap Create Map in the route panel or the layers menu.
- The route renders as a flat projection centered on the route, polar legs unrolled cleanly.
- Share it anywhere, or save it straight to your photos.
Layers and Views
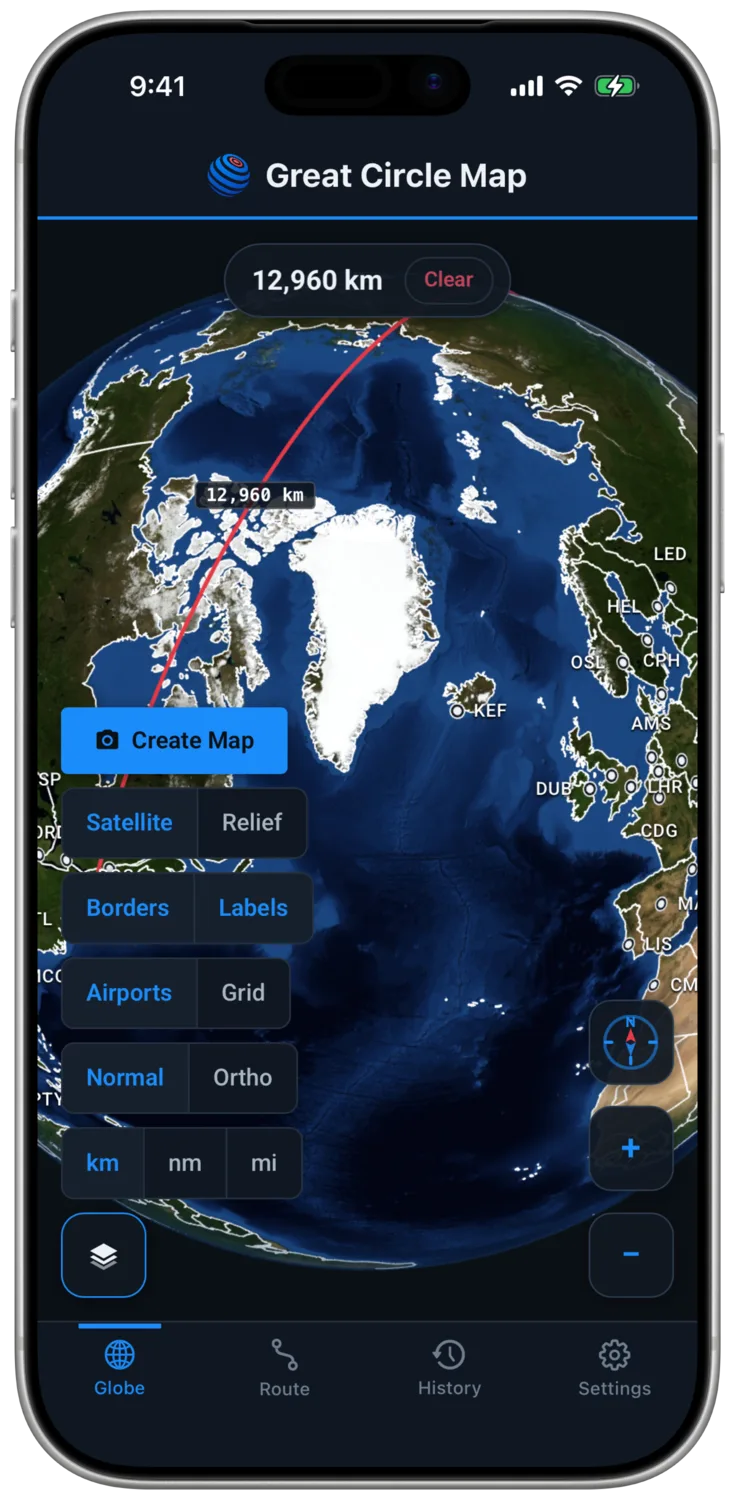
The layers button in the corner holds the quick settings for how the world looks.
- Choose Satellite for NASA Blue Marble imagery or Relief for the Natural Earth map.
- Toggle borders, airports, labels, and the grid.
- Switch between the Normal camera and the flat Ortho projection, and pick your units.
What Every Button Does
Compass
The red needle always points north. Tap it for north-up, drag its ring to roll the view by hand, and double-tap it to reset the camera entirely.
Zoom In
Steps the camera closer. Scrolling or pinching does the same thing, aimed at your cursor or fingers.
Zoom Out
Steps the camera back, out to a full view of the globe.

Map Layers
Opens the quick settings, holding Create Map, the Satellite and Relief surfaces, the Borders, Labels, Airports, and Grid overlays, the Normal and Ortho projections, and the km, nm, and mi units.
Create Map
Renders the current route as a flat map image and opens it with Share and Save buttons.
Route Total
The running distance of the whole route in your chosen units. Clear removes every waypoint and starts you fresh.
What Every Setting Does
The Settings tab holds the map defaults. Every change applies to the globe immediately and is remembered for next time.

Map Style
Satellite is NASA Blue Marble imagery, and Relief is the Natural Earth terrain map. The globe switches instantly.

Projection
Normal is a regular perspective camera. Ortho removes the perspective entirely and draws the globe the way charts do.

Units
Kilometers, nautical miles, or statute miles, applied to every leg label, total, and history entry at once.

Country Borders
The Natural Earth country boundary lines drawn over the surface.

Airports
The major-airport markers around the globe. Tapping one adds it to the route.

Labels
The airport code labels beside the markers.

Coordinate Grid
A latitude and longitude graticule over the globe.

Leg Distances on the Route
The distance labels that ride along each leg of the route.

Leg Distances on Exported Maps
Whether the images Create Map produces carry the leg labels too.

Weather at Waypoints
The current conditions line under each waypoint in the route panel, and the app's only network request.

Slow Spin When Idle
A gentle rotation whenever you leave the globe alone.

Save Route History
Automatic saving of every route you build. Turn it off and History keeps only what it already has.

Route Line Size
The thickness of the route arcs, from hairline to bold.

Label Size
The size of every label on the globe.
Get Great Circle Map